

Screen installation
Screen installation whole process tutorial | Standard process, size measurement, installation steps, acceptance and pit avoidance professional guide
The importance of screen installation and the definition of industry standards
Schematic diagram of anti-mosquito and dust effect of standard screen window installation
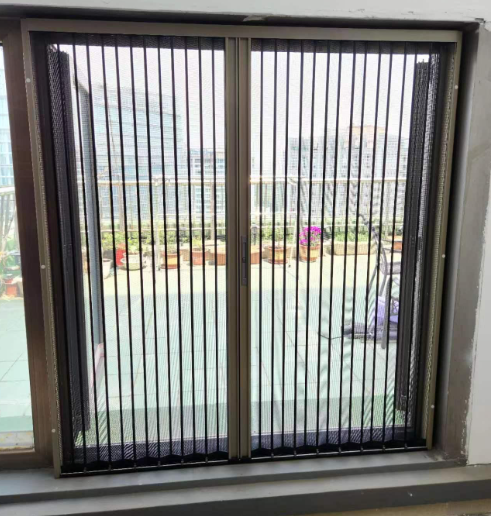
Screen installation is the most basic and critical fine construction project in the transformation of doors and windows, and belongs to an important part of the residential door and window envelope system. Professional screen installation is different from simple self-adhesive and temporary buckle installation. It strictly follows the door and window assembly specifications. Through a complete set of standardized processes of precise measurement, frame fixing, screen mesh tensioning, sealing and closing, and debugging and calibration, it realizes the four functions of mosquito prevention and insect prevention, dust prevention and ventilation, protection and safety, and sound insulation and noise reduction.
Many owners mistakenly believe that the screen window can only be simply installed. In fact, the installation process of the screen window directly determines whether the later stage leaks mosquitoes, air leakage and ash leakage, deformation of the window frame, disassembly card, loose screen bulging and other issues. Regular screen window installation needs to comply with the construction specifications for building door and window assembly to ensure that the frame is vertical and horizontal, the screen tension is uniform, the seal is tight, the opening and closing are smooth, stable and durable.
The installation of high-quality screen windows not only prevents mosquitoes from entering the room, but also protects the safety of children at home when opening windows, filters outdoor dust catkins, and does not block lighting or affect the original opening and closing functions of windows. It is a necessary hidden and refined project for home improvement, old house renovation, and new house hardcover.
Second, accurate measurement specifications and size standards in the early stage of screen installation
Window accurate measurement, dimensional marking details
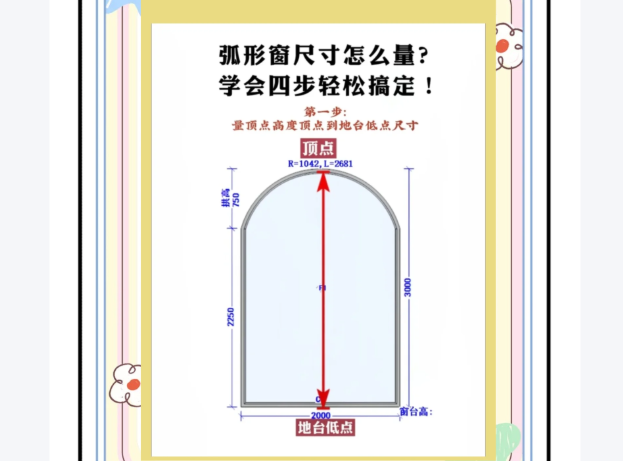
Measurement is the first step in screen window installation, and it is also the core foundation for determining that the screen window is tight and does not leak mosquitoes. 90% of the problems of large screen gaps and air leakage and insect leakage are due to inaccurate measurement. Professional screen window measurement is divided into three standard methods: inner frame measurement method, outer frame measurement method, and edge pressing measurement method, which are suitable for different window structures.
First measure the net height and net width of the window, and use a high-precision steel tape measure with a level ruler to avoid bevel errors. The measurement needs to be divided into upper, middle and lower three points to measure the width, left, middle and right three points to measure the height, and take the minimum value as the cutting size to prevent the window wall from being unsquare and causing the screen window to not be installed and the gap to be too large.
For casement windows, sliding windows, floor-to-ceiling windows, and special-shaped windows, the measurement standards are different: casement windows need to reserve hinges and handle clearance; sliding windows need to measure track spacing to avoid screen rail jamming; high-rise windows need to check the load-bearing thickness of the window frame to ensure that the screen window fits tightly.
Industry professional reserved gap standard: 2-3 mm fine-tuning gap is reserved uniformly around, which is convenient for disassembly, assembly and cleaning, and there will be no large gap into mosquitoes. It is forbidden to forcibly squeeze and install if the measurement is too large, which is easy to cause deformation of the frame, tightness and cracking of the screen screen; it is also forbidden to be too small in size, resulting in air leakage and ash leakage around the gap. Accurate measurement is the first core process of professional screen installation.
III. Classification of mainstream screen window styles and corresponding installation methods
Comparison of various screen window styles and installation adaptation drawings
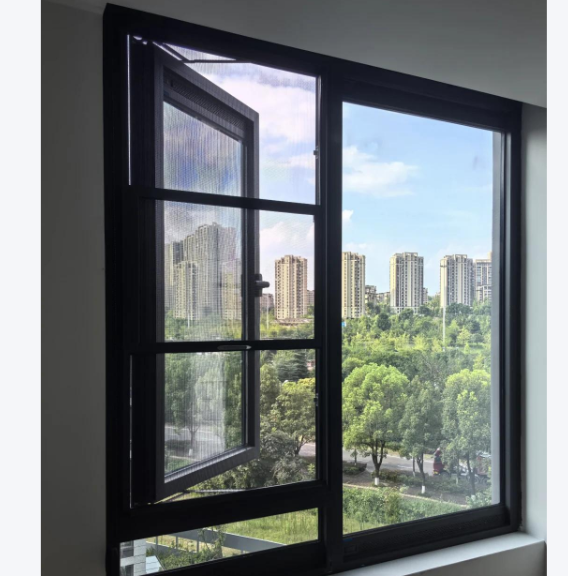
Different screen window structures, installation processes, fixing methods, and matching windows are completely different. Choosing the style on demand is the prerequisite for the installation effect. At present, the mainstream of home improvement is divided into four categories.
First, the diamond mesh anti-theft screen window. Thickened aluminum alloy frame + high toughness diamond mesh, anti-mosquito and anti-theft, suitable for high-rise, families with children, using screw fixing + pressure bar sealing embedded installation, the frame fits the inside of the window frame, the strongest stability, can prevent high-altitude falling objects, external force breaking the window.
Second, the invisible high-transparency screen window. Extremely narrow frame + high-transparency encryption screen, strong light transmission, does not block the field of view, suitable for floor-to-ceiling windows, viewing windows, using card slot embedded installation, minimalist and beautiful, mainly breathable and transparent, invisible dust-proof.
Third, the reel telescopic invisible screen window. The upper and lower reel rewinding structure can be automatically stored without taking up space. It is suitable for casement windows and external windows. The installation needs to accurately fix the upper and lower yarn boxes and left and right air grooves to ensure that the rewinding is smooth and not stuck.
Fourth, magnetic simple screen window, Velcro screen window. Lightweight temporary style, using paste installation, suitable for renting and temporary use, professional home decoration is not recommended, poor sealing, stability and durability.
Professional installation will match the corresponding installation plan according to the window opening method, window frame thickness, and window type structure, without a common set of processes, to maximize the adaptation to the original door and window structure, without damaging the window frame or affecting the window opening and closing.
Fourth, the complete process of standardized construction of screen window installation
Screen window site standardization construction steps flow chart
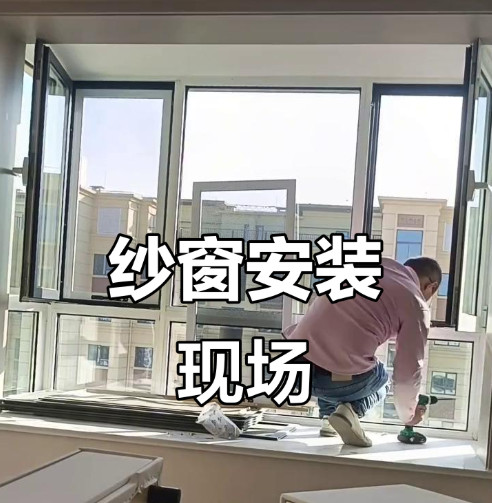
Regular professional screen window installation follows a ten-step standardized process, step by step, interlocking, eliminating cutting corners and ensuring the quality of finished products.
Step 1: Basic cleaning. Clean up the dust of the window frame, cement agglomeration, aging rubber strips, and sundries to ensure that the installation base surface is flat and clean, and avoid the leakage of insects in the gaps caused by foreign objects padding the screen window.
Step 2: Check the size for the second time. After the finished product arrives, check the size, window type and color of the screen window again, and start the installation after confirming that it is correct.
Step 3: Frame alignment into the groove. Tilt the screen window frame to align, and accurately embed the window frame track first up, then down, first inside and then outside to ensure that the frame fits in place.
Step 4: Horizontal and vertical correction. Calibrate the horizontal and vertical flatness of the screen window with the help of a horizontal ruler to ensure no tilt, no deviation, and avoid uneven force on the later opening and closing cards and gauze nets.
Step 5: Fixing and reinforcement. According to the window type, it is fixed with hidden screws, card slot buckle fixing, and pressing and fixing, all of which are hidden construction, no exposed screws, beautiful and rust-proof.
Step 6: Tightening and debugging of the gauze mesh. Evenly stretch the gauze mesh, and the force on all sides is consistent to ensure that the gauze mesh is flat and tight, without folds, slack, and bulging.
Step 7: Sealing bead installation. Embed special sealing strips and pressing lines to fill the subtle gaps between the screen window and the window frame to achieve tight sealing.
Step 8: Assembly of hardware accessories. Install handles, locks, buffers, rewinding springs and other accessories, and debug the opening and closing damping.
Step 9: Overall function test. Repeat opening and closing, pushing and pulling, and rewinding dozens of times to test smoothness, sealing, and stability.
Step 10: Finish the on-site cleaning. Clean up construction waste, wipe the surface of the screen window, and deliver the finished product.
The whole process is unabridged and unsimplified, which is the core difference between professional screen installation and simple roadside installation.
Fifth, the core sealing process of screen window installation to eliminate the common disease of leaking insects and ash
Screen window sealing strip, pressing strip closing details close-up
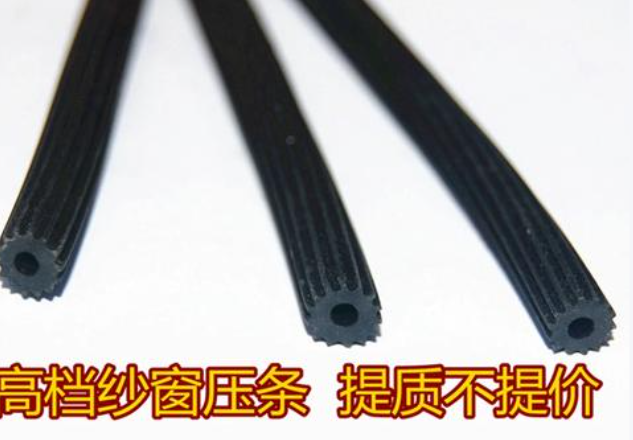
Leaking mosquitoes, leaking catkins, leaking air and leaking ash are the most common problems in the use of screen windows. The root cause is that the sealing process is not in place. Professional screen window installation adopts multi-layer sealing and closed-loop process to completely solve the hidden dangers of gaps.
The first is the physical sealing of the frame, through precise size adaptation, so that the screen frame and the window frame are closely fitted, eliminating large gaps; secondly, the embedded rubber sealing strip is used, and the all-inclusive edge is pressed and sealed to seal the subtle expansion and contraction gaps. It is suitable for thermal expansion and contraction changes, and there is no water leakage or air leakage in all seasons.
The corner position is the hardest hit area for leaks. Professional construction will focus on strengthening and sealing the four corners, and the rubber strips are diagonally spliced without gaps to prevent mosquitoes leaking from the corners. At the same time, the track position is equipped with a dust-proof edge to prevent dust and small flying insects from entering the room from the track gap.
Unlike ordinary simple installation that only relies on frame fitting, professional sealing process achieves "physical bonding + rubber strip sealing + corner sealing" triple protection, even small flying insects, dust, and catkins cannot penetrate, and at the same time does not affect the free disassembly and cleaning of the screen window, taking into account sealing and practicality.
VI. Exclusive installation skills and adaptation points for different window types
Casement window, sliding window screen installation details comparison chart
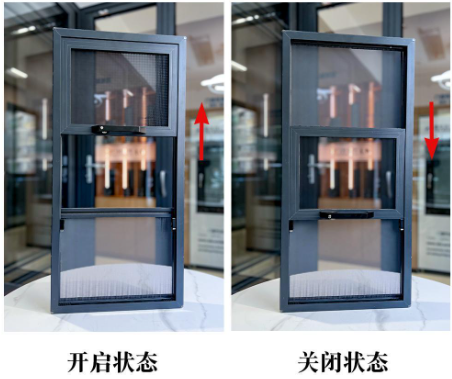
Different window structures are different, and installation difficulties vary greatly. Only targeted construction can ensure perfect results.
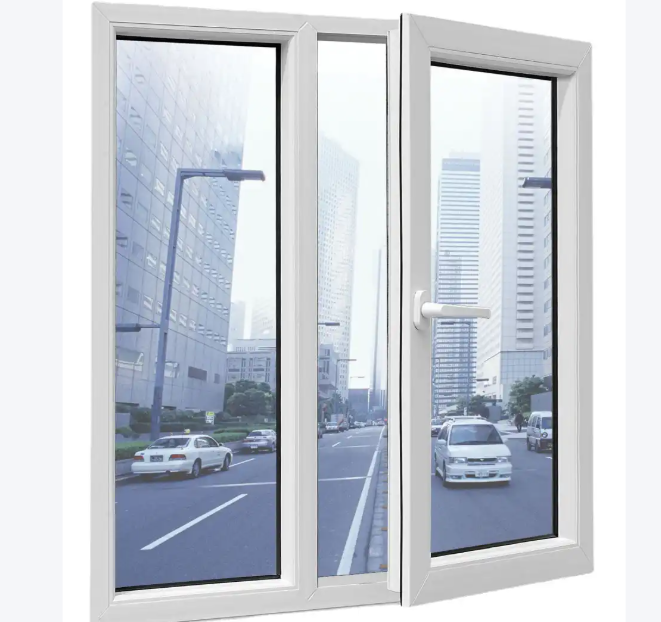
Casement window screen installation: focus on avoiding window hinges, handles, and limiters, and accurately reserve the gap of accessories to avoid lax closure and card caused by the screen window against the window; the screen window is installed close to the inside, and the surrounding seals are in place, which does not affect the normal opening and closing of the window.
Sliding window screen installation: focus on calibrating the parallelism of the track, adjust the height of the bottom pulley to ensure that the push-pull is light and smooth, without derailment, frame, or fan shaking; control the spacing between the screen window and the push-pull fan to prevent mutual friction and abnormal sound.
External window invisible screen installation: focus on fixing the verticality of the upper and lower yarn boxes, tighten the rewinding elasticity, ensure that the automatic rewinding does not run off, do not clip, and do a good job of waterproof and dustproof treatment on the top.
Floor-to-ceiling window large-size screen installation: Large-span screen windows are easy to bulge in the middle and slack the screen. During installation, it is necessary to increase the middle reinforcement bead and stretch the screen evenly to ensure that the large-area screen is flat and tight, and does not deform for a long time.
Special-shaped arc window: Customize the arc frame with the window, accurately fit the arc, and correct the flatness in sections to eliminate the problems of different gap sizes and lax fitting.
Seven, screen installation common construction mistakes and professional pit avoidance guide
Defect diagram of large installation gap and loose screen
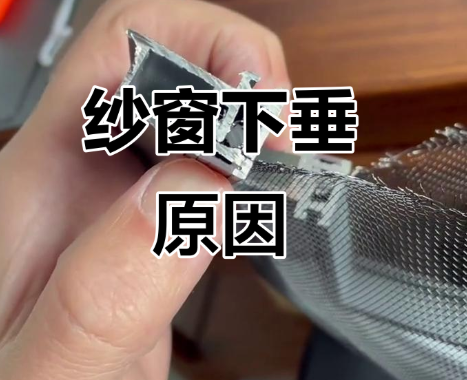
There are common problems of cutting corners and non-standard processes in the installation of low-cost simple screen windows on the market. Owners need to focus on avoiding seven major misunderstandings.
First, the size measurement is perfunctory, no three-point measurement, and the windows are not installed properly, resulting in leakage of insects and deformation of the frame.
Second, the sealing strip is omitted, and only the frame is hard-fitted. After thermal expansion and contraction, the gap becomes larger, and air leaks and ash all year round.
Third, the exposed screw fixation not only affects the appearance, but also is prone to rust, rowing, and later loosening and falling off.
Fourth, the gauze stretched unevenly, local slack bulging, wrinkling, dust accumulation difficult to clean, poor appearance.
Fifth, without level correction, the screen window tilts and shifts, opening and closing cards, derailment, and lax closing.
Sixth, the corners are sealed perfunctorily, and the splicing gap is large. Mosquitoes specifically fly into the room from the corners.
Seventh, large-size screen windows without reinforcement, long-term use of gauze falling, frame deformation, the overall loose shaking.
Professional installation adheres to refined standards, with all concealed processes in place, leaving no construction hazards, ensuring long-term stable, sealed, and easy-to-use screen windows.
Eight, screen window installation completion standard acceptance rules
Screen window completion acceptance debugging site real picture
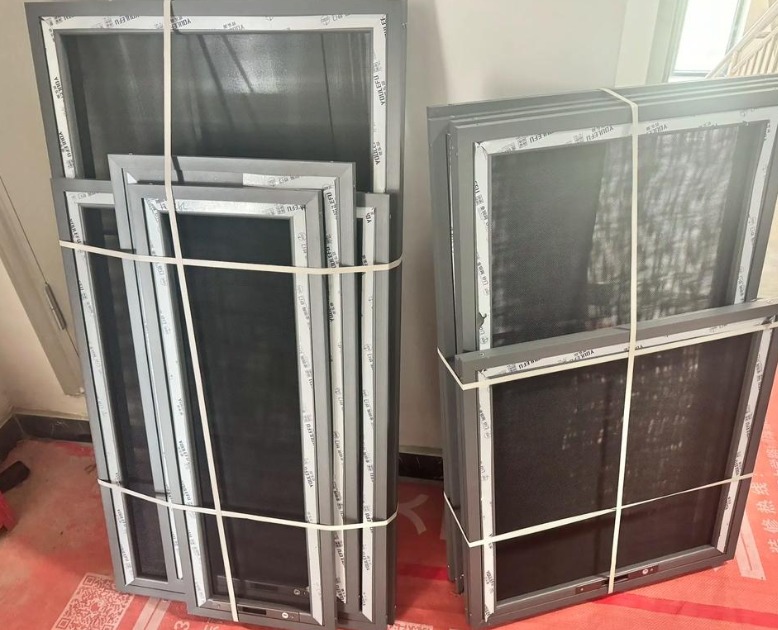
After the installation of the screen window is completed, it can be self-checked according to professional acceptance standards, and meeting the standards is a qualified construction.
First, appearance acceptance: the frame is flat and square, no scratches, no deformation, no bumps, uniform color, tight corner stitching without gaps.
Second, gauze acceptance: gauze flat tight, no wrinkles, no bulging, no damage, no loose, uniform mesh.
Third, seal acceptance: tight fit around, no light transmission gap, no air leakage after closing, no leakage and insect dead ends.
Fourth, open and close acceptance: push-pull, open and close light and smooth, no card, no abnormal sound, no derailment, no loose shaking.
Fifth, hardware acceptance: the handle, lock, and rewind functions are normal, the buffer damping is in place, and the automatic rewind is accurate and not deviated.
Sixth, adaptation acceptance: does not affect the opening, closing, and locking of the original windows, does not block the field of view, and does not bump the window frame.
Seventh, cleaning and acceptance: no dust, no glue stains, no construction waste, and clean and tidy as a whole.
Only when all the acceptance items meet the standards can a set of qualified professional screen installation projects be considered.
Nine, screen window later correct use and maintenance skills
Schematic diagram of daily cleaning and maintenance of screen windows
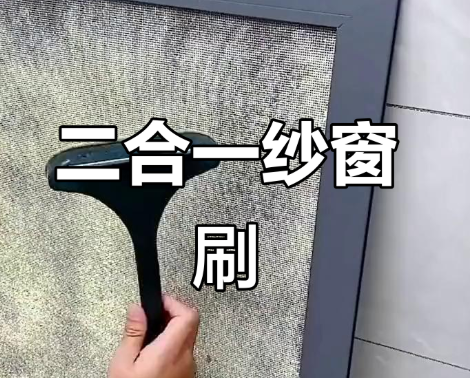
Standardized installation and correct maintenance can greatly extend the service life of the screen window, keeping it as new all year round without leaking mosquitoes.
Use a soft brush and water to wipe for daily cleaning, and prohibit hard objects from vigorously scraping the gauze to avoid deformation and fracture of the gauze; regularly clean the track and corners of dust and debris to prevent dust accumulation.
The invisible reel screen regularly checks the rewinding elasticity, and the card fine-tunes the track in time; the diamond screen window checks the fixing screws and beads every year, and strengthens them in time if they are loose.
The sealing rubber strip is a consumable part. Check it every 3-5 years. If it hardens, cracks, and shrinks, replace it in time to continuously ensure the sealing and mosquito-proof effect. Avoid vigorously pulling and violently opening and closing the screen window to prevent the frame from deforming and the screen net from edging.
Full text summary
Panorama of high-end screen window installation in the whole house
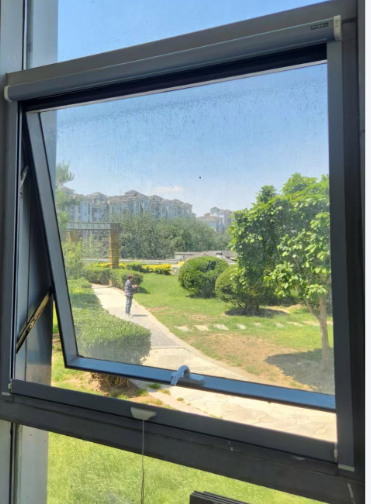
Screen installation seems simple, but it is actually a set of professional door and window supporting projects that pay attention to accurate measurement, standardized technology, fine sealing, and window type adaptation debugging. From the early three-point accurate measurement, matching the corresponding window style, to the standardized ten-step construction, multi-layer sealing process, and targeted window type adaptation, every detail directly affects the anti-mosquito, dust, ventilation, and protection effects.
Professional screen window installation eliminates common diseases in the industry such as gap leakage, screen slack, opening and closing cards, and frame deformation, and takes into account the four core requirements of beauty, practicality, sealing and durability. When choosing screen window installation services, owners should not only look at the price, but also focus on the measurement accuracy, construction technology, sealing details, and acceptance standards. Refuse simple perfunctory construction.
Regular standardized installation of screens can adapt to various home improvement scenarios, providing long-term stability, durability, and a tight fit. They can not only maintain indoor ventilation, but also completely isolate mosquitoes and dust, greatly enhancing home living comfort.